User guide for dashboard
1. Click the "Create an account" link in the bottom of Happylearning homepage
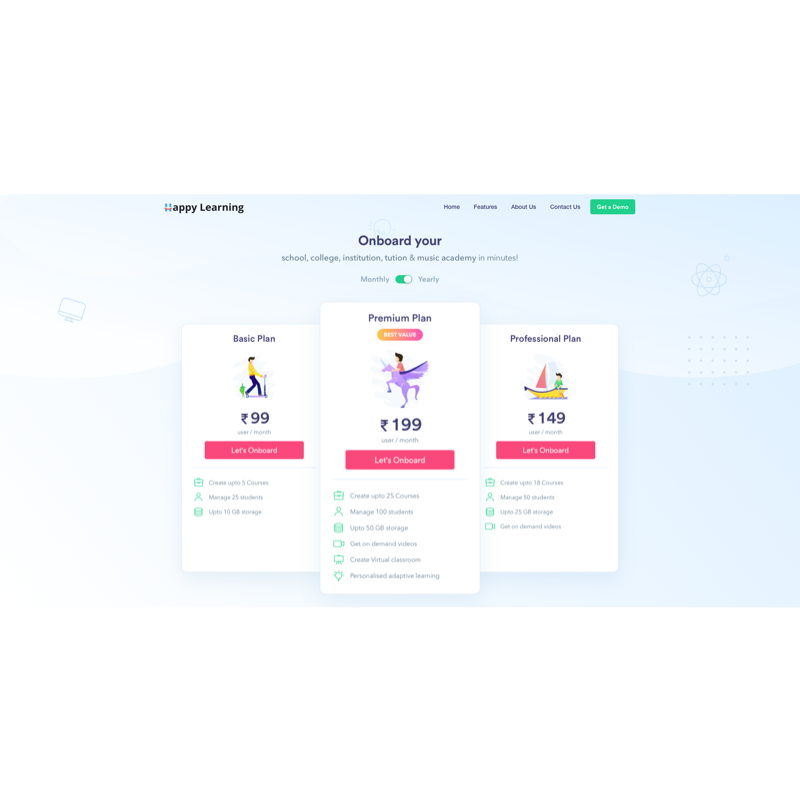
2. Select the plan of your choice to launch your institution
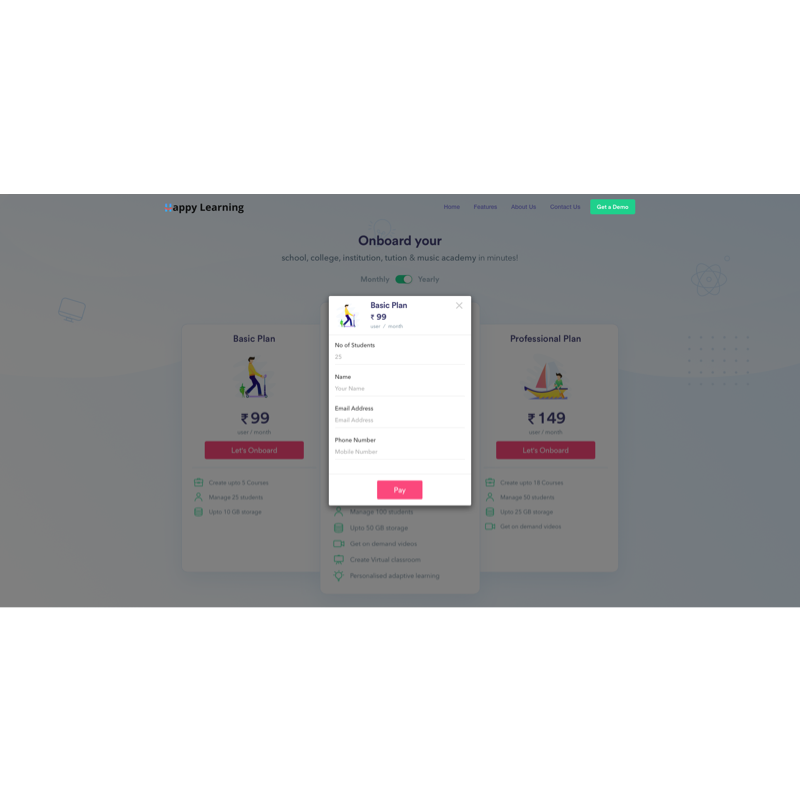
3. In the new tab, enter the number of students, name, email address and phone number details.
4. Finally, click the "PAY" button to proceed with your transaction.
5. After successful payment, your exclusive Happylearning account is created.
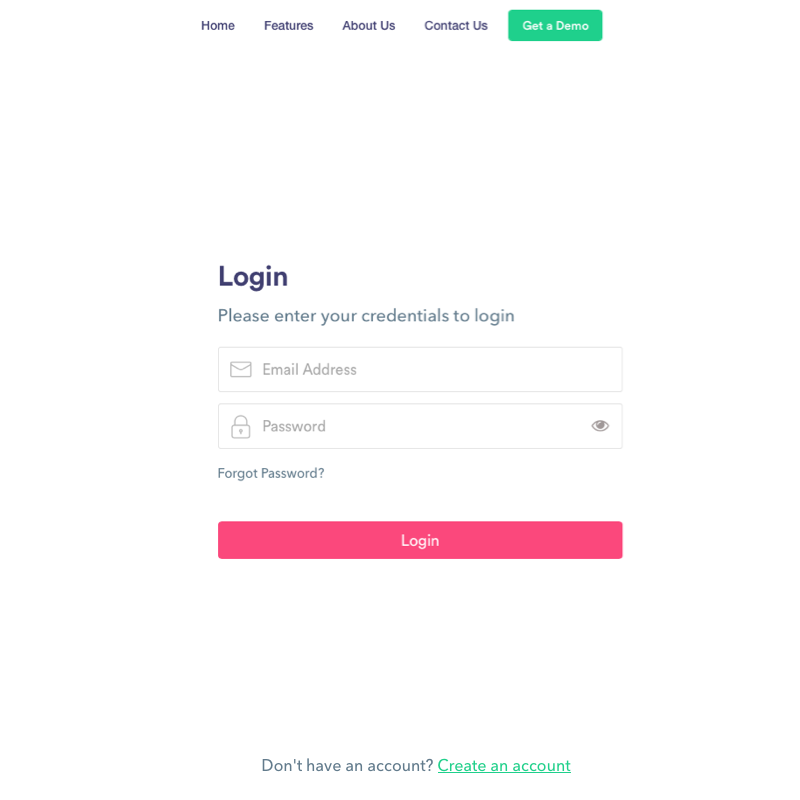
1. In case of missing the password details, click the "Forgot Password".
2. Navigate to the mentioned email inbox to get the password retrieving details.

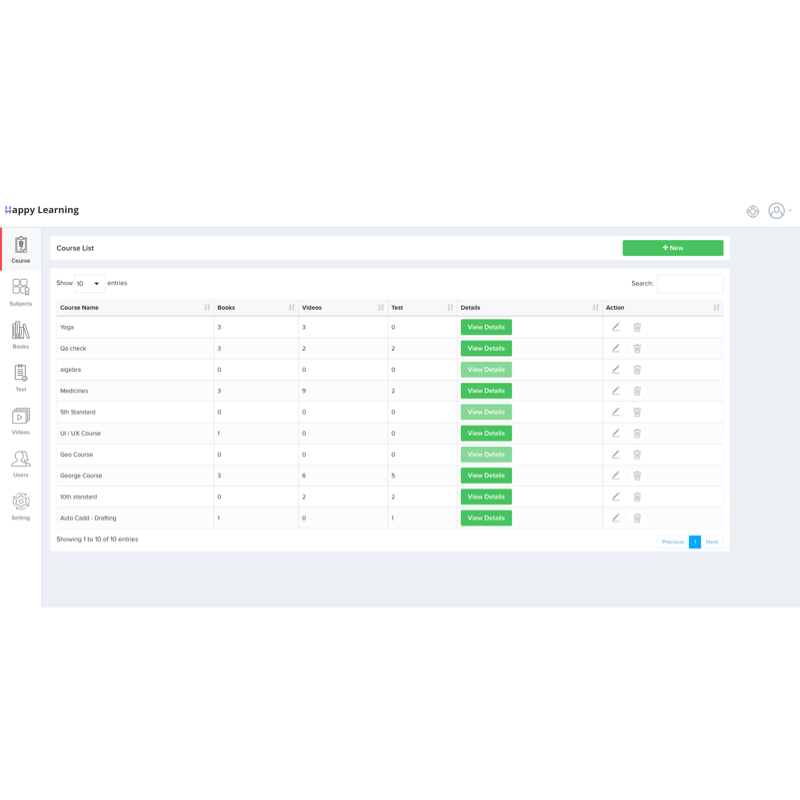
1. Click the "Course" icon.
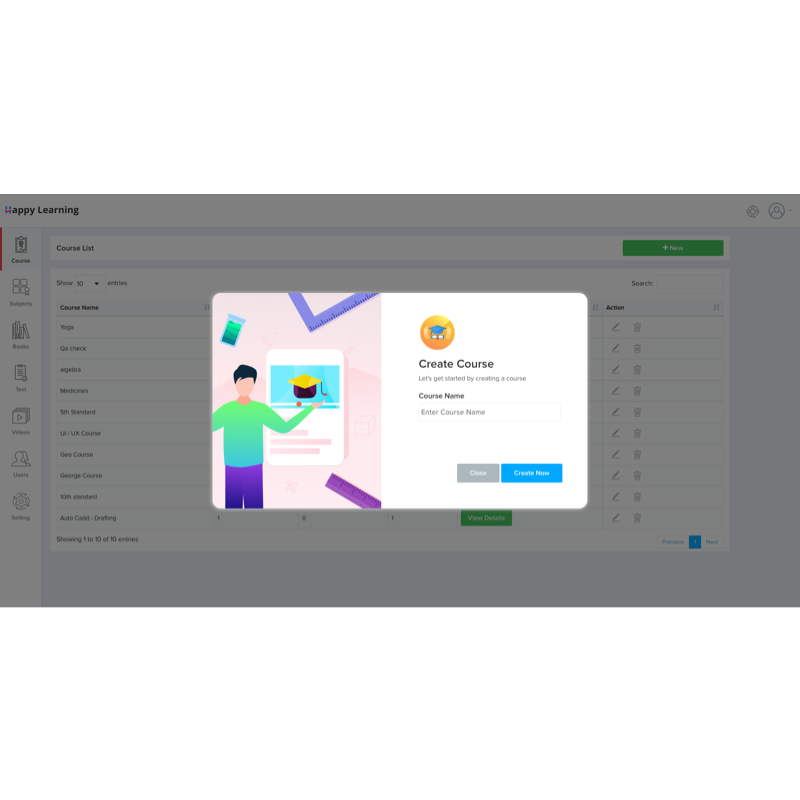
2. To create a new course, tap "+New" button.
3. A new tab will open and enter the course name in the column.
4. In the end, click the "Create now" button to create your course.
5. Click the "Close button to close the tab.
6. Now, the course is created and you can see the details in numbers for books, videos, tests available under the course.
7. To edit the course name, under the action column, click the "pencil" icon to change.
8. To delete a course title, under the action column, click the “bin” icon, and confirm it by tapping the "Yes" button.
1. Under each course, respective subjects should be created.
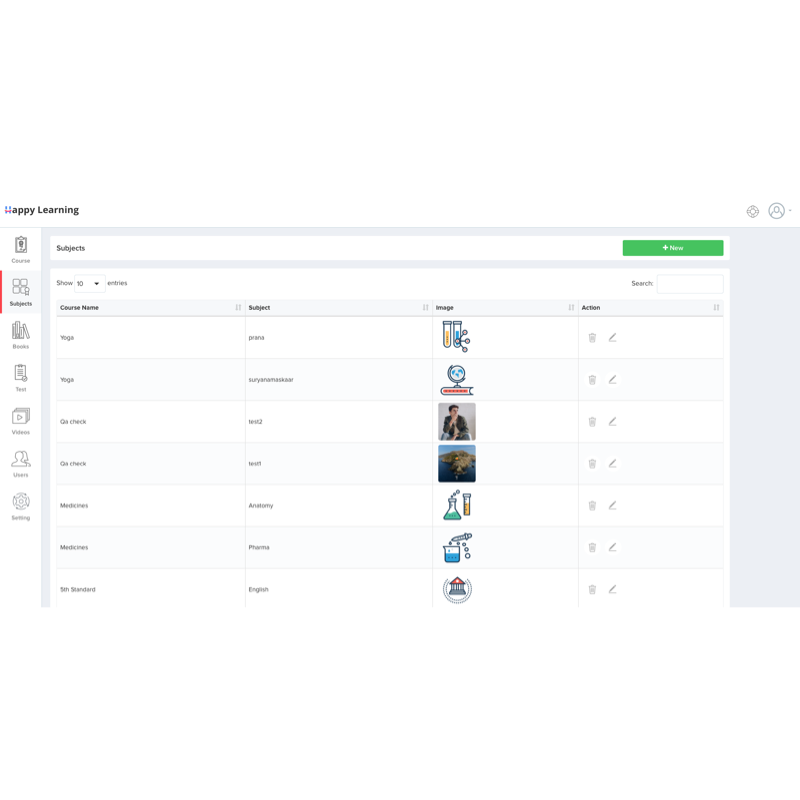
2. Click the “Subjects” icon in the scrolling bar to enter the subjects page.
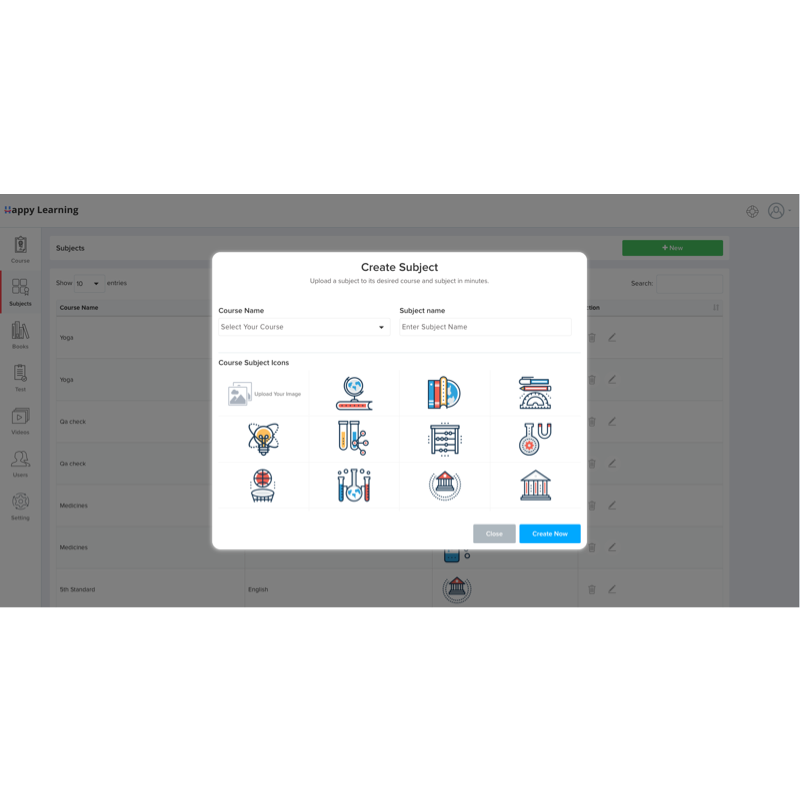
3. To add a new subject under a course, click the “+New” button.
4. In the new tab, select the course, where you want the subject to add in the drop-down menu.
5. Then, enter the respective name for the subject.
6. If you want to represent your subject with an icon, select the respective icon from the available course subject icons.
7. Click the “Upload your image” button to add your desired icon for the subjects.
8. Finally, click the “Create now” button in the page button to create your subject under the course.
9. After creation, the subject name is listed out with its respective course name and icon.
10. To delete a subject, first, select the subject name in the list, then click the “Delete” button and confirm it to remove from the list.
1. Click the “Books” icon in the left scrolling bar to add appropriate books for the subjects.
2. In the new page, tap the “+New” button.
3. A new tab will be opened with form like options.
4. Enter the necessary details like book name, book type, and order number.
5. Select the respective course and subject by clicking the options in the drop-down menu.
6. To add an appropriate cover image for the book, click the “Upload book cover image” option to upload the image.
7. Click the “Upload book” button, and select the right PDF file from your storage to upload the e-book.
8. After entering all the above-said details, click the “Create book” option to add a book under the subject.
9. Now, in the list, the book is readily available with its PDF link and other respective details like course & subject name, type.
10. Click the “pencil” icon to edit the book name and click the “bin” icon to delete and remove the book from the list.
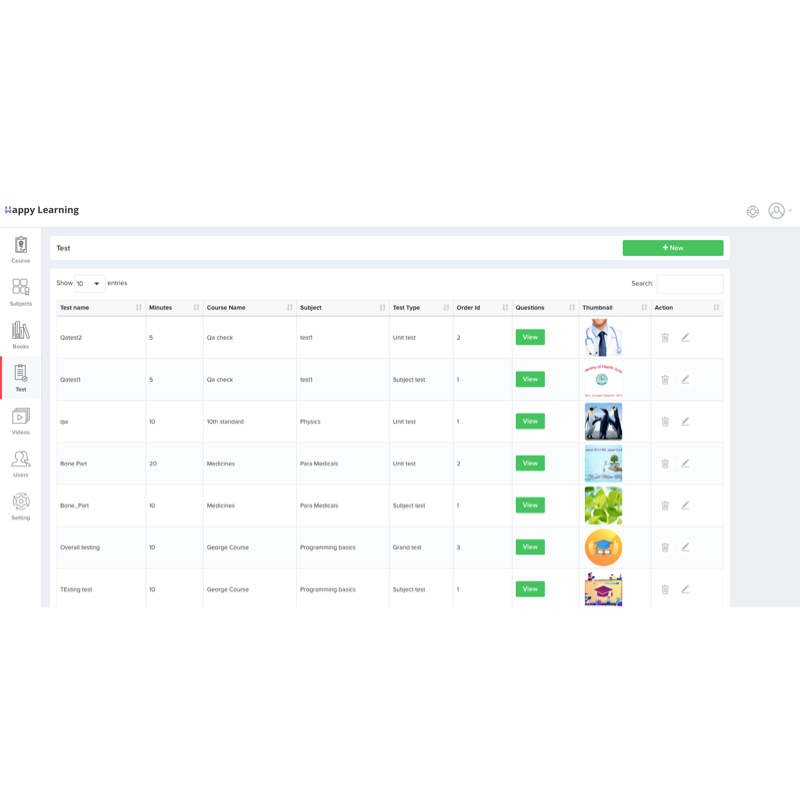
1. Click the “Tests” icon in the scrolling menu bar.
2. You will enter a new page showing a list of tests corresponding to the subject and courses.
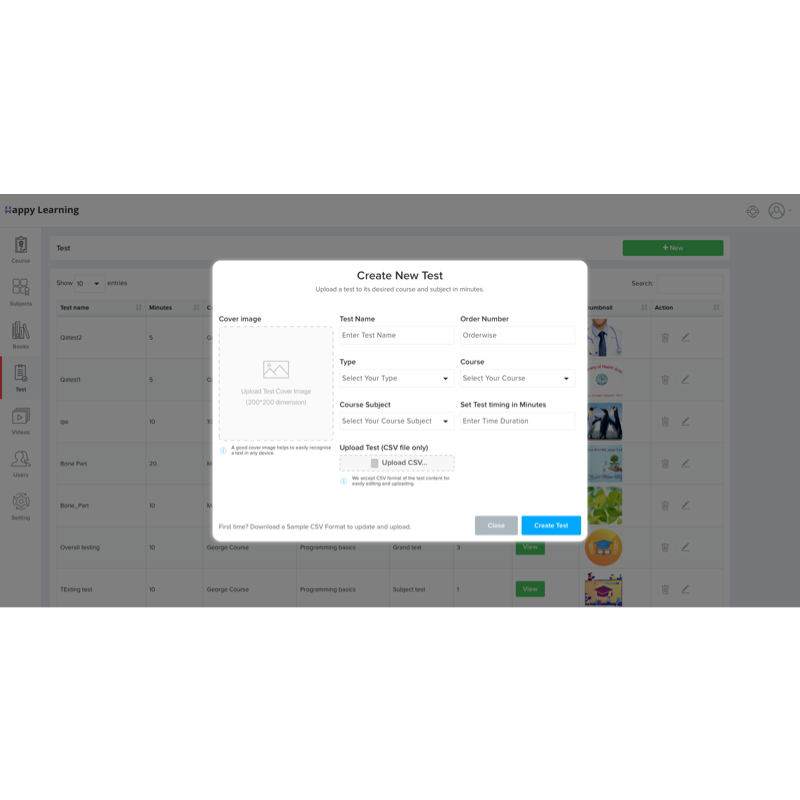
3. To create a new test, just click the “+New” button available in the Title box. A new tab of “Create a new test” will open.
4. Same as books and subjects, enter the details like test name, order number, test type.
5. Select the corresponding course & subject names for the test by clicking the options in the drop-down menu.
6. To add a thumbnail image for your test, click the “Upload a cover image” button.
7. To fix the test duration time, enter the test duration in minutes.
8. Click the “Upload CSV” button, and select the CSV test file in your storage to upload.
9. In the end, click the “Create test” button at the bottom of the page to launch your test.
10. The test list is created, and you can view all the details like duration, type, course and subject name, etc.
11. Under the Action column, click the “pencil” icon to edit the test name and click the “bin” icon to delete a test from the list.
1. In the test list, under the Questions column, click the “View” button for a particular test.
2. A new page will open up showing a list of questions entered for that particular test.
3. Click the “View Details” button to know the question in detail.
4. To add an image for the answer, click the “Upload an image” button under the Answer image column.
5. Likewise, click the “Upload an image” button under the View Details column to add any reference image.

1. Tap the “Videos” icon in the Menu bar.
2. A new page will open, showing a list of video contents (if available).
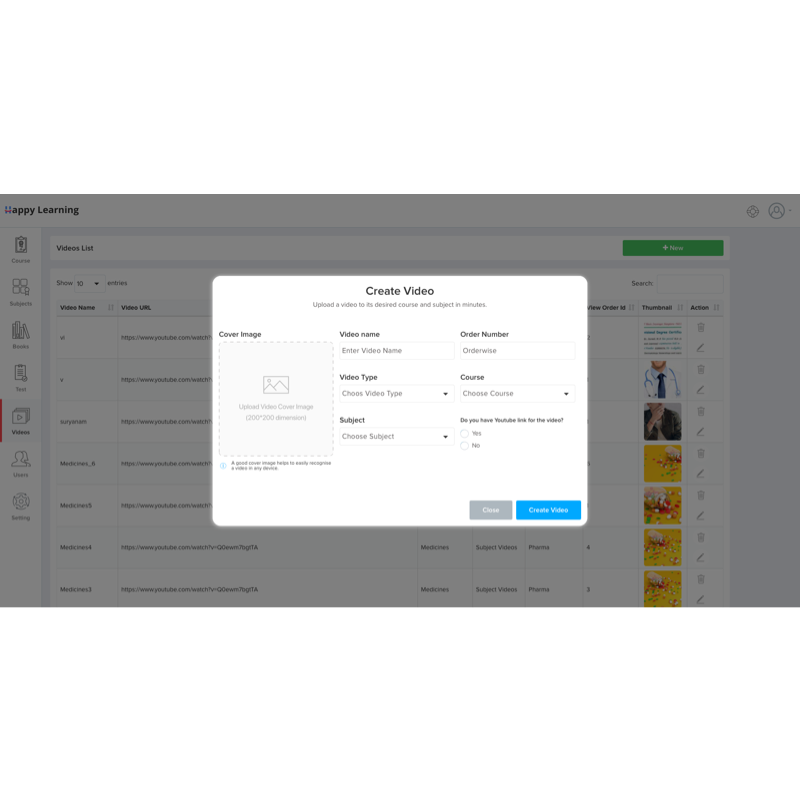
3. To add a new video to the subject, click the “+New” button.
4. A new “Create Video” tab will be shown.
5. Enter the respective details like video name, type, order number, etc.
6. Choose the corresponding course & subject names, in which the video to be added from the drop-down menu options.
7. If your video is available on the YouTube platform, click the “Yes” button. Otherwise, tap “No” button.
8. On clicking the “Yes” button, a new empty column will open up for the YouTube video link. Enter your video link in that space.
9. To add a thumbnail image for your video, click the “Upload video cover image” button and upload it.
10. Finally, click the “Create video” button at the bottom to add your video to the list.
11. Same as the previous menu options, you can edit/delete the video from the list by clicking the “pencil” and “bin” icons under the action column.

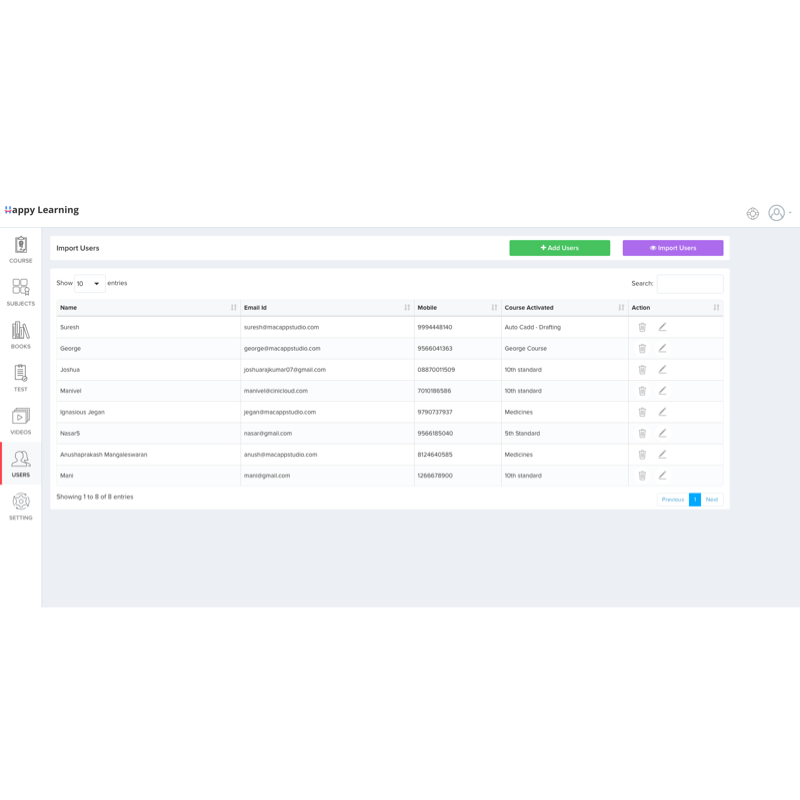
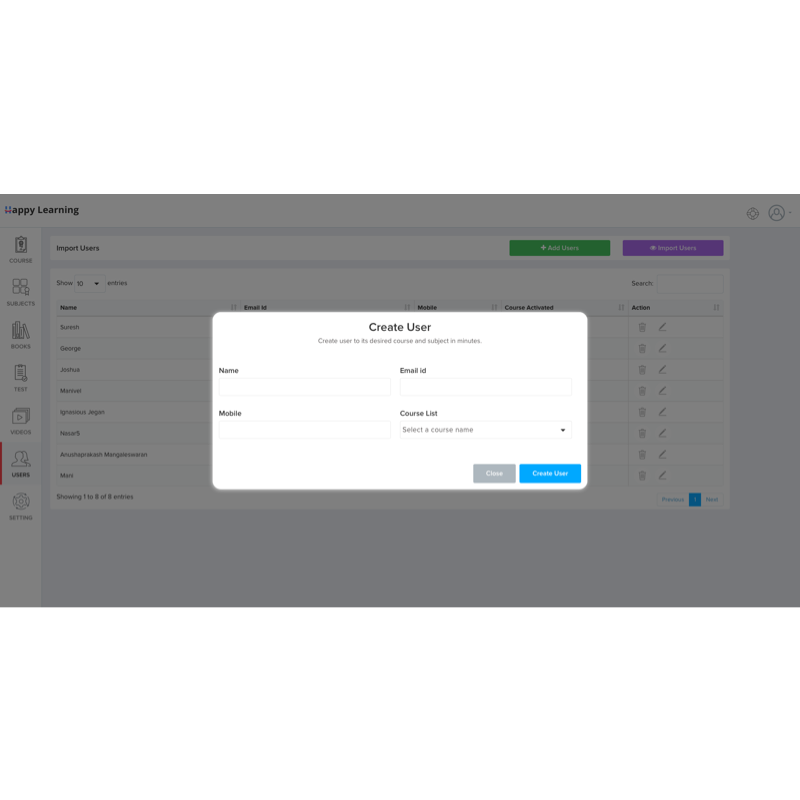
1. Click the “Users” button in the menu.
2. To add a user profile to your course, click the “Add user” button.
3. A new tab “Create User” will open.
4. Enter the User name, email ID, Mobile number in the respective columns.
5. Select the allotted course for the user by choosing the course name in the drop-down menu from the course list.
6. Finally, click the “Create User” button to add the user profile.
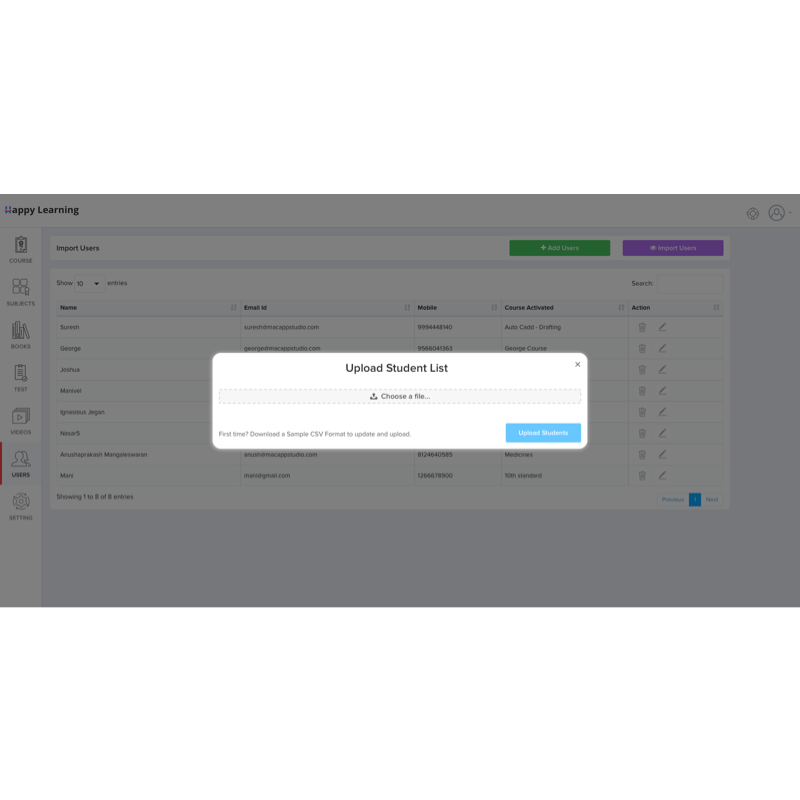
7. All the added user profiles are readily available in the list with the respective details.
8. You can easily edit/delete the user profiles by options under the “Action” column.
9. Click the “Import Users” button to directly upload the user details file from your storage.
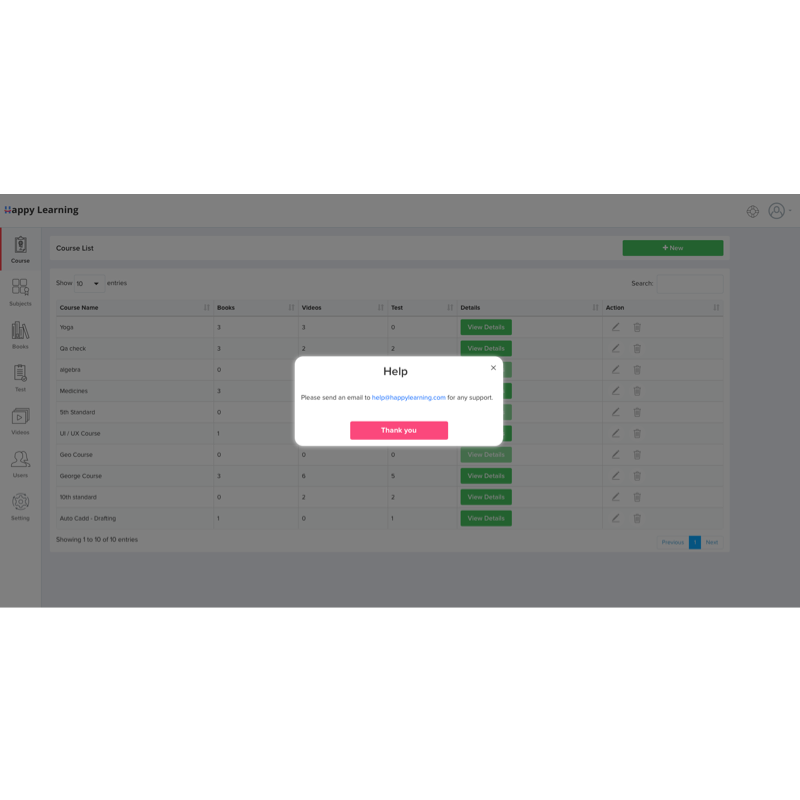
1. Click the “Help” icon in the menu to get in-depth details to use the Happy Learning platform.
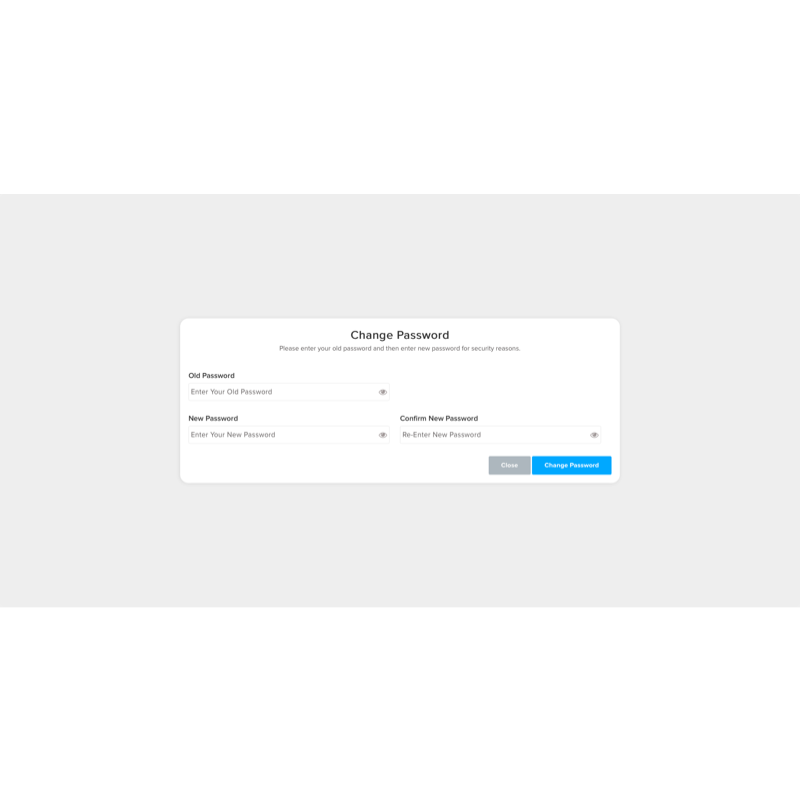
1. To change the password for your Happy Learning account, in the top right corner of the dashboard, click the profile icon.
2. Then, in the drop-down menu options, tap the “Change password” option.
3. Now, in the new page, enter your old password, new password and confirm it by entering the new password again in the respective columns.
4. After entering, click the “Change password” button and now your account password has been successfully changed.